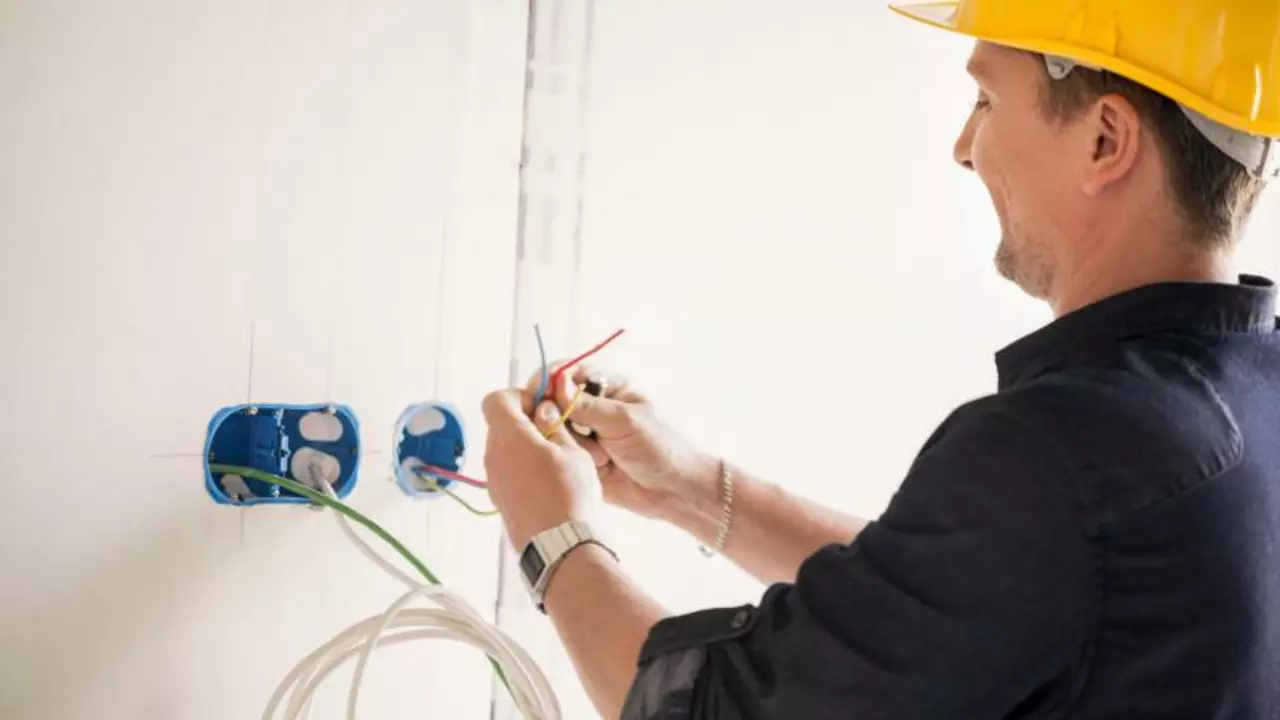
Understanding the Importance of Grounding a Light Fixture
Before we delve into the process of grounding a light fixture, we need to understand its importance. Grounding is a critical safety measure that prevents electrical shocks. If a fault occurs in your electrical system, grounding provides an alternative path for the electrical current to follow, which can save you from a potentially dangerous situation. Without grounding, any metal parts of a light fixture could become energized, posing a significant risk of electrical shock. So, in essence, grounding is all about safety, and it is a necessary part of every electrical installation.
Tools and Materials Needed for Grounding
Before we start with the grounding process, let's talk about the tools and materials needed. You will need a screwdriver, wire strippers, a voltage tester, and a grounding wire, usually a green or bare copper wire. If your light fixture does not come with a grounding wire, you can purchase one separately at any home improvement store. Remember to turn off the power to the light fixture at the circuit breaker before you begin working. Safety should always be your top priority when dealing with electricity.
Identifying the Ground Wire
The first step in grounding a light fixture involves identifying the ground wire. In most cases, this wire is either green or bare copper. It is typically attached to the light fixture itself, or it may be part of your home’s electrical wiring. If your light fixture has a chain, the ground wire might be attached to it. Sometimes, the ground wire may also be attached to a green grounding screw located on the light fixture or the mounting bracket. Identifying the ground wire is crucial because it is this wire that will ensure the safe operation of your light fixture.
Attaching the Ground Wire to the Light Fixture
Once you have identified the ground wire, the next step is to attach it to the light fixture. This step might vary depending on the specific design of your light fixture. In general, though, the ground wire should be connected to the grounding screw on the light fixture or mounting bracket. After threading the ground wire through the appropriate channel, you should tighten the grounding screw to secure the wire. Once this is done, your light fixture will have a safe path for electrical current to follow in case of a fault.
Connecting the Ground Wire to the Electrical Box
After attaching the ground wire to the light fixture, it's time to connect it to the electrical box. This is another crucial step in the grounding process. The ground wire from the light fixture should be connected to the ground wire in the electrical box. This can be done using a wire nut to securely twist the two wires together. Once the wires are securely connected, you can tuck them into the electrical box to complete the grounding process.
Testing Your Grounded Light Fixture
Now that your light fixture is grounded, it's essential to test it to ensure everything is working correctly. Using a voltage tester, you can check if the grounding is effective. If your tester indicates that there is no voltage between the light fixture and the ground, then you have successfully grounded your light fixture. If there is voltage present, you need to re-check your connections and make sure everything is properly attached. Remember, grounding is all about safety, so it's essential to take your time and get it right.
Grounding your light fixture might seem like a complicated process, but with some patience and the right tools, it can be done quite easily. The most important thing is to prioritize safety. Always make sure the power is turned off before you start working, and don't hesitate to call a professional if you're unsure about any part of the process.

Write a comment